

Even though SPIKE Prime and the Mindstorms Robot Inventor Kit are here and are awesome tools, the EV3 is still here to stay for a lot of schools, teams, and home users. The current EV3 Classroom from LEGO Education has Scratch-based programming (similar to the SPIKE Prime and Mindstorms Robot Inventor Kit). However, many people have grown to love the older LabVIEW-based block language currently known as EV3 Lab/EV3-G. If you get a new Windows computer, you have to search a bit for the EV3 Lab download, but it will still run on even Windows 10. We will show you how below. However, do you have an updated Mac computer and are sad that you can no longer run the older EV3 programming language EV3 Lab/EV3-G on it? If your Mac computer is updated to 10.15 (Catalina) or higher, the old EV3 Lab software cannot run. However, we have figured out a way around this, so that you can have the best of both worlds – an up-to-date Mac and EV3 Lab successfully running.
Today, we are going to walk you through the steps we used to run EV3 Lab/EV3-G on current Windows and Mac computers. Please note that EV3 Lab will no longer be updated by LEGO Education, but it still has a place in many homes and schools.
Why you may still want EV3 Lab
So, LEGO Education released EV3 Classroom for Mac last year and Windows this year. With this new programming software available for your EV3, why would you still want to use EV3 Lab? Well, we know of several reasons…
- You will be able to see and run old code you have already written and saved previously.
- This may be a language that you (or your team) already know and are comfortable using.
- There are lots of training materials available on-line and many of the bugs worked out or documented for EV3 Lab.
- The ability to export/import MyBlocks is easier than in Scratch-based EV3 Classroom to share code between people.
- Third party sensors, such as those from mindsensors.com, have downloadable blocks ready-made for EV3 Lab (not for FIRST LEGO League use, but for hobby use). See previous article here.
- It is also easier to manage files on your EV3 brick through the computer software (EV3 Classroom requires you to delete files using the brick navigation and brick buttons themselves).
EV3 Lab on a Windows computer
As we said before, the EV3 Lab software is still available on the latest update (Windows 10), but it can be hard to find where you can download EV3 Lab. You can use this link, or you can follow the steps below.
First, go to education.lego.com. Scroll all the way to the bottom of the page, and click “Download Software” under “Resources.” Once you get there, scroll below the latest software for various LEGO products, and click “Retired Products.” Then, click the button that says “EV3 Lab Software.” Lastly, hit the download button, and await your EV3 programming language.
Even though the EV3 Lab download is a bit hidden on the LEGO Education site, it is still available, and it will work on Windows 10.
EV3 Lab on a Mac computer
For installing EV3 Lab on your Mac computer, we will tell you the way we chose to do it, but there are a lot of ways you can alter the process to fit your budget and time constraints. We will describe how to run EV3 Lab using emulator software.
Robot Connection Note
Sadly, Bluetooth will not work on EV3 Lab (EV3 G) running emulator software because Bluetooth defaults to the main operating system. However, if you still want cordless downloading and running of programs, USB Wi-Fi adapters would work. A Wi-Fi adaptor would plug into the USB slot on your EV3. More details on Wifi adaptors can be found here. Not all Wi-Fi adapters are compatible with EV3.
FIRST LEGO League Challenge teams, remember that at any FLL Challenge competitions Wifi adapters must be removed! Keep that in mind when designing your robot (need to keep this adaptor accessible in your robot build for easy removal)!
Materials
You will need about 30 GB of space available on your computer. Because of hard drive space limitations and portability between computers, we chose to use a fast external USB drive. We used a SanDisk 500GB Extreme Pro, but any other drive with at least 64 GB available space would work.
You will also need emulator software. There are many to choose from, but we used Parallels Desktop 16 Standard Edition, for a one-time licensing fee (not subscription). VirtualBox may be a good free option, but we will only be talking through how to use Parallels Desktop 16 Standard Edition.
Our notes below only demonstrate installing MacOS, however, Parallels also supports running Windows, and this could be used to run the EV3 software as well.
Step 1: “Erasing” Your Drive
If you are using an external drive, we recommend that it is formatted as Mac OS Extended (Journaled). If it is not currently in this format or if you are unsure, we recommend to “erase” the drive. If you have already formatted your drive or if you are installing directly to your Mac computer instead of to an external drive, you can skip this step.
“Erasing” the drive will reformat it optimally for use with your Mac, along with erasing anything saved on the drive. You can follow the steps below, or you can follow the steps from Apple Support here.
WARNING! If you have anything saved on your external drive that you want to keep, copy it off and save it to your computer or another storage device now!
-
Open the Disk Utility app on your Mac.
-
Double-click Disk Utility in the /Applications/Utilities folder.
-
Choose View > Show All Devices.
-
In the sidebar, select the storage device you want to erase, then click the Erase button.
-
Click the Scheme pop-up menu, then choose GUID Partition Map.
-
Click the Format pop-up menu, then choose Mac OS Extended (Journaled).
-
Enter a name.
-
Click Erase, then click Done.
Step 2: Download Mojave
Once you have all of your materials ready, you are ready to start installing the software! The first application we will install is macOS Mojave. Mojave is the latest version of macOS that can still run EV3 Lab (EV3 G). Thus, it is the most optimal macOS version to use.
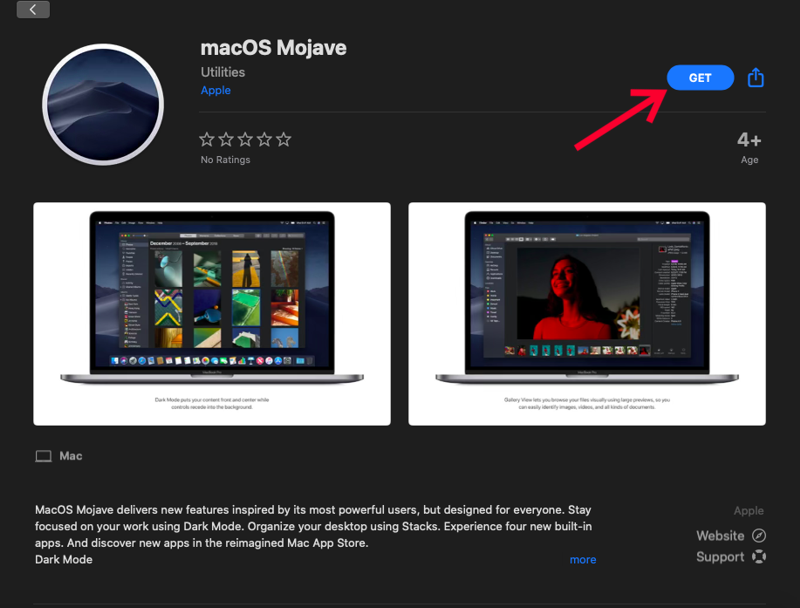
Go into the App Store, and download “macOS Mojave” on your computer. If you get the error message: “This copy of the “Install macOS” application is too old to be opened on this version of macOS,” you can ignore it and click the “Quit” button.
Step 3: Installing Parallels and Mojave
As we said before, we will be demonstrating with Parallels Desktop 16 Standard Edition. Other similar software would also work, but we will only be walking through the steps with Parallels.
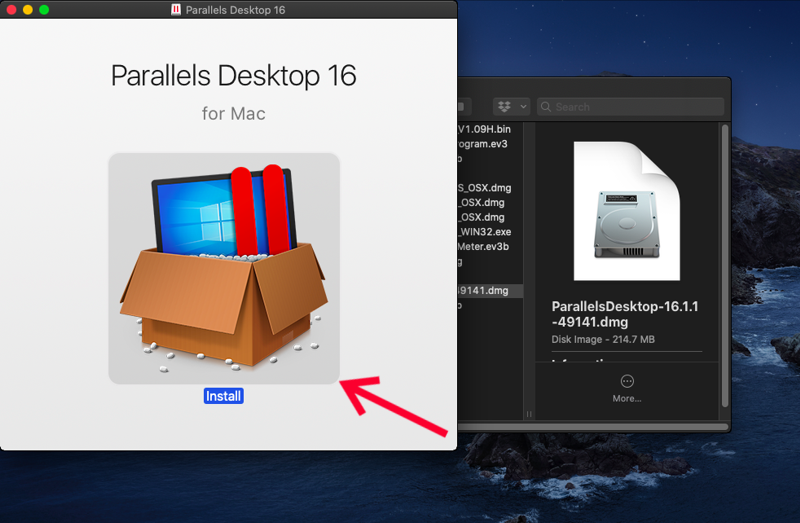
Open up the Disc Image file: “ParallelsDesktop-16.1.1-49141.dmg” Then double click the install image.
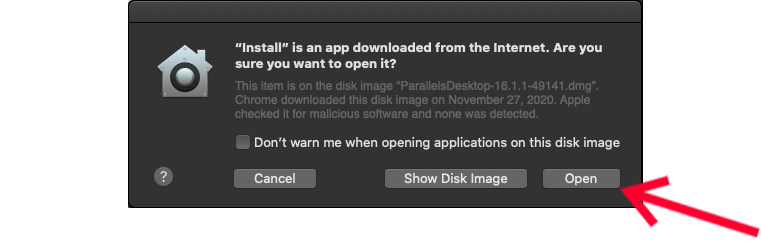
You can ignore the downloaded-from-the-internet-warning pop-up message and click “Open.”
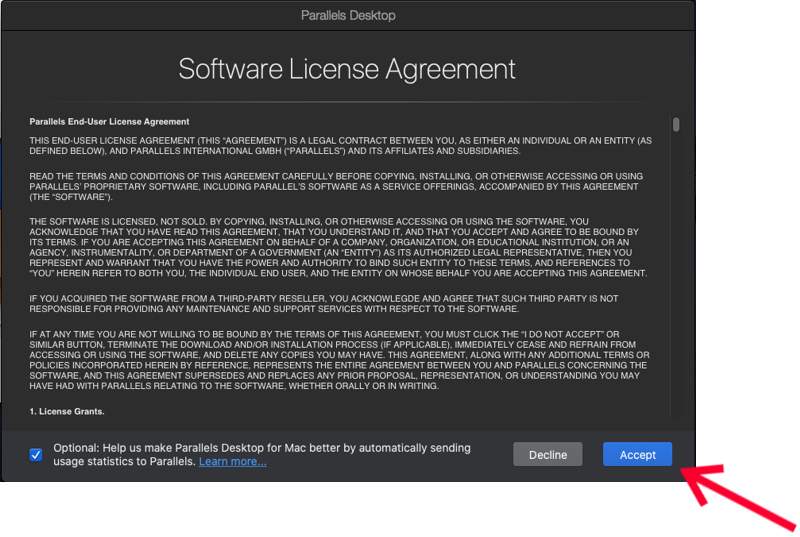
Next accept the software license agreement.
Then Parallels will start to download. It might take some time to finish.
Once it finishes installing, it will ask you to sign in.
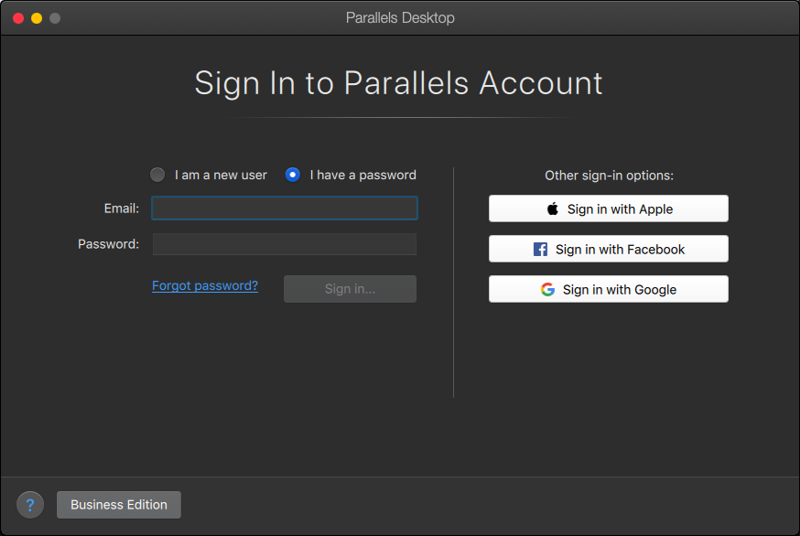
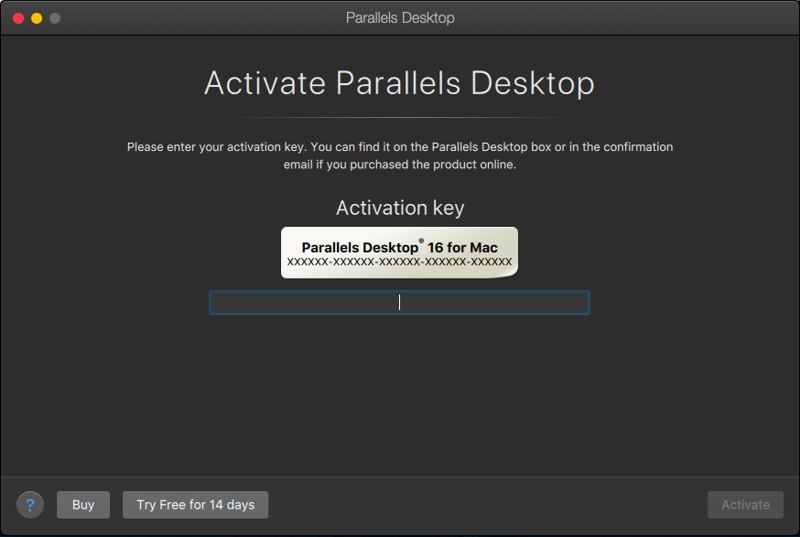
Then it will ask for your unique activation key that you received from Parallels (from when you paid for your subscription).
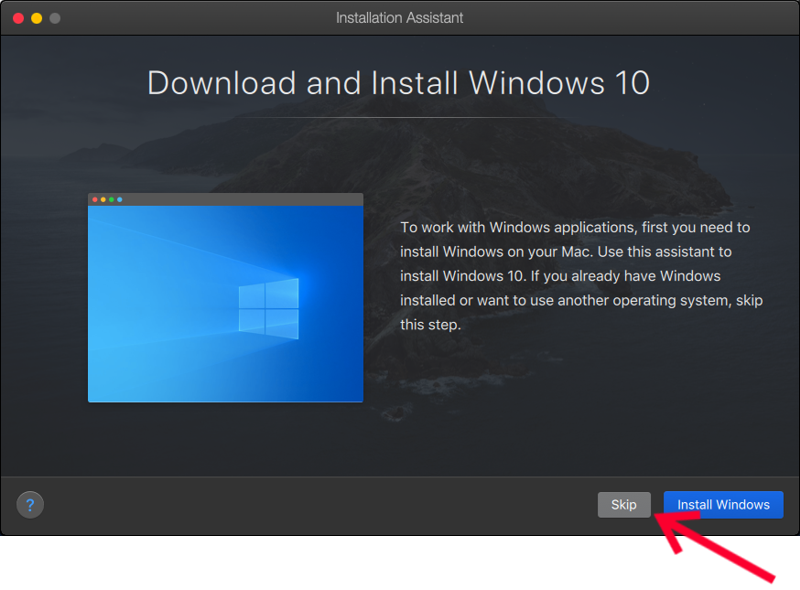
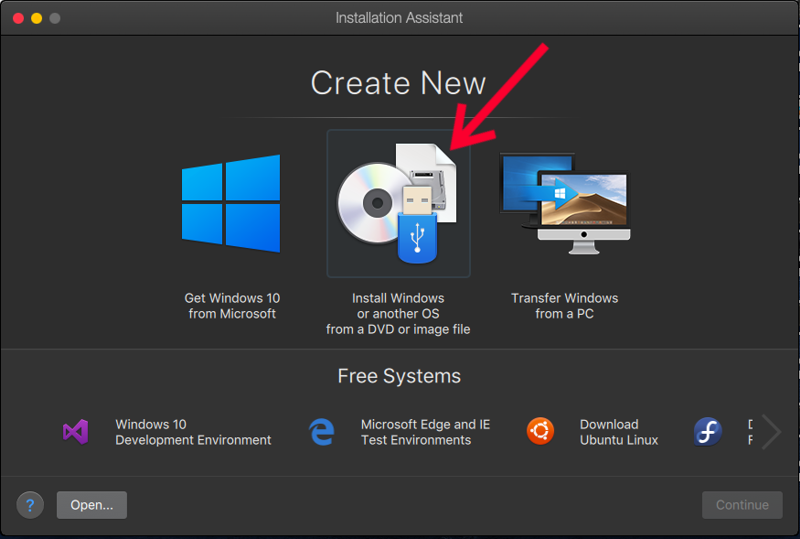
Next it will ask you to install Windows. We are going to click “Skip” instead (since we are just looking for the macOS Mojave).
The installation assistant will then ask you to “Create New.” Select the option to “Install Windows or another OS from a DVD or image file.” A detailed installation guide is available at Parallels here. This process should find your downloaded copy of MacOS Mojave and offer that in the list for you to install from directly. However, some people have indicated that it is does not always appear in the list. If that is the case, a surefire way to use the Mojave installer would be to convert the MacOS Mojave installer file into an ISO image and select that image to install from.
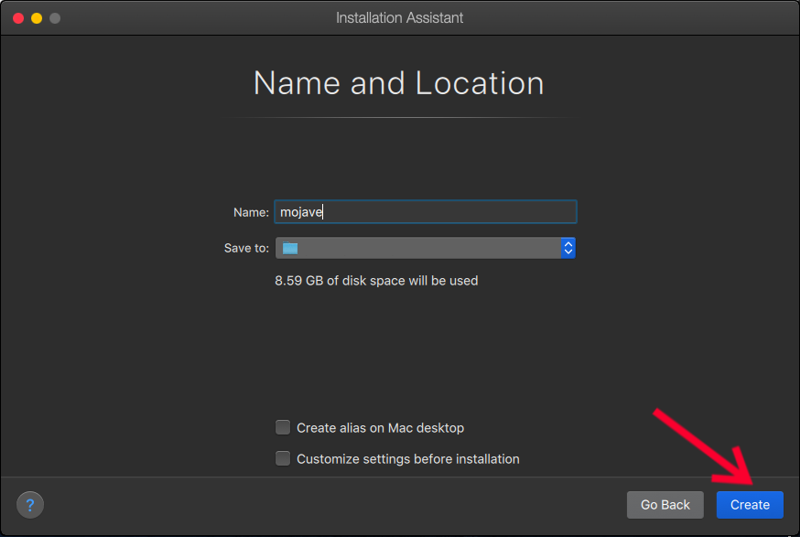
The installer will next prompt you to name the new “virtual machine” that you are creating and save it as a file. Name the file “mojave” and place it under a helpfully named folder, such as “Parallels” on the drive that has space for this large file. As previously stated, we chose to save this file on our large external drive.
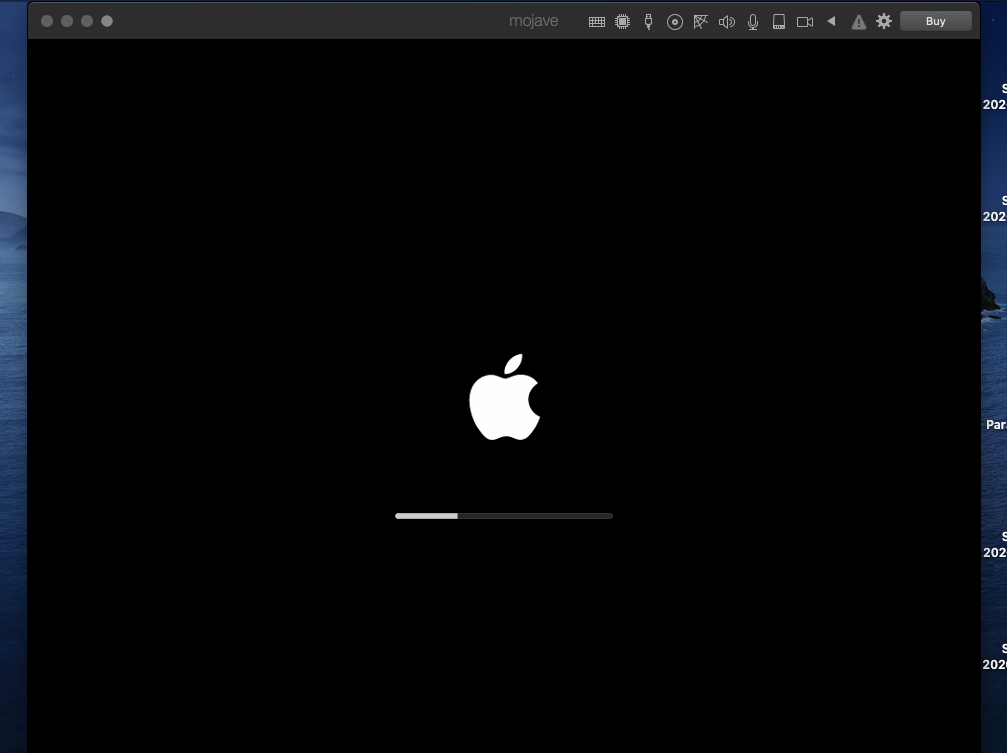
It will automatically start opening “mojave.” You should see the Apple logo as it loads.
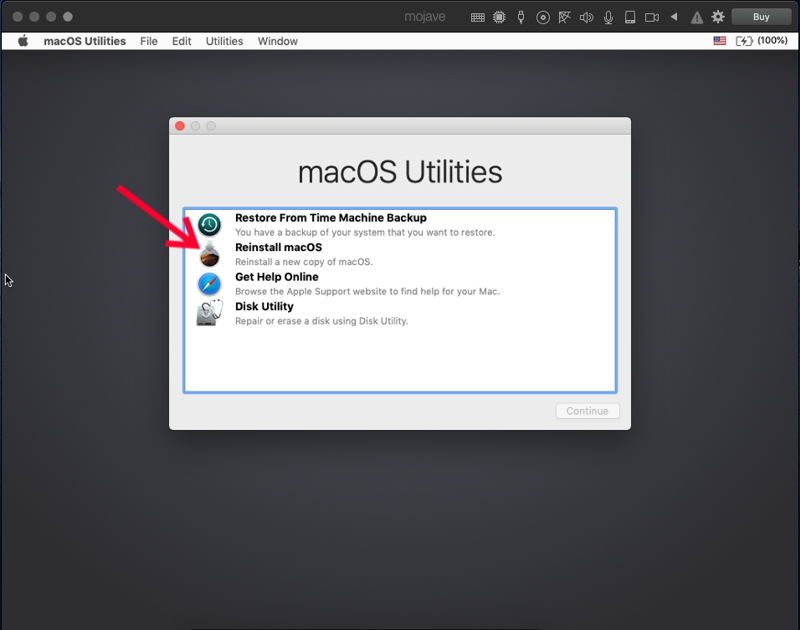
After it loads, select your language.

Then the “macOS Utilities” pop-up will appear. Select “Reinstall macOS,” and click “Continue.”
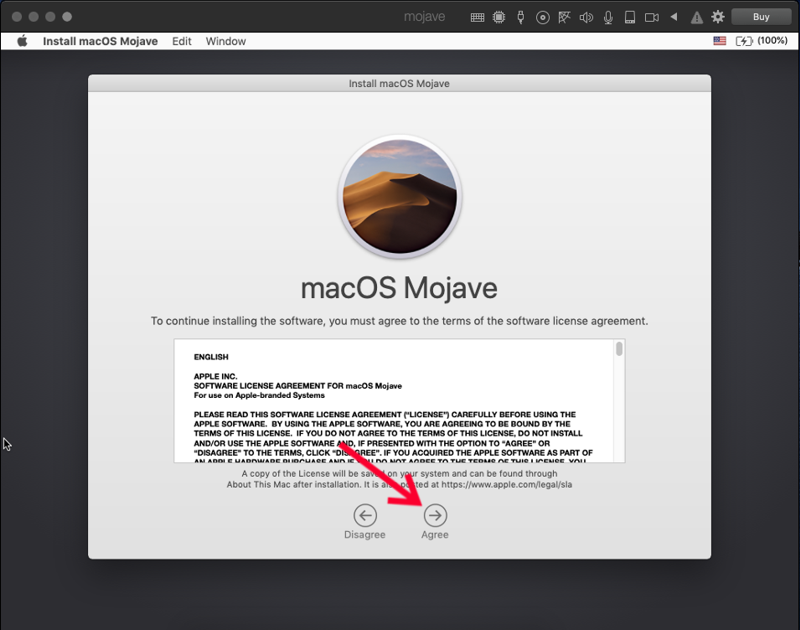
The macOS Mojave installer will ask you to agree to the software licensing agreement.
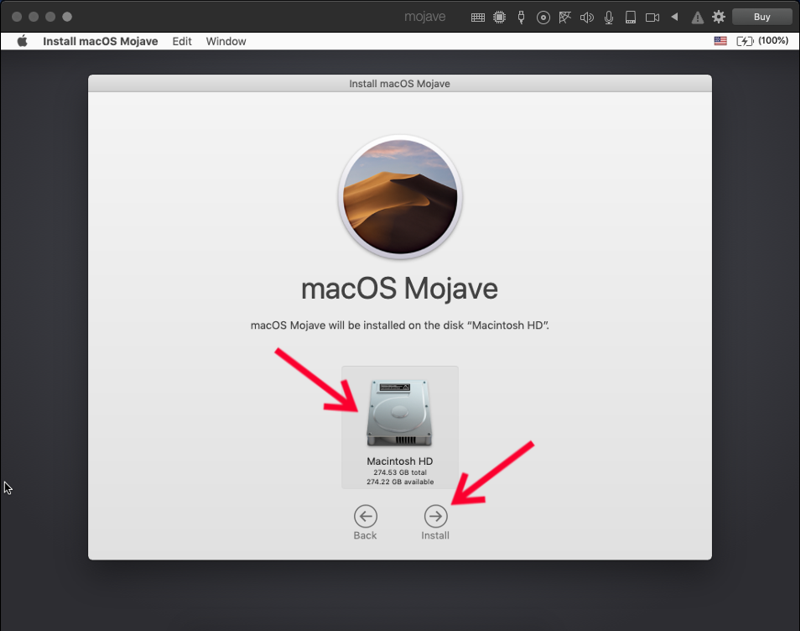
Then it will ask you where you would like to install macOS Mojave. Select your external drive. (Ours is generically called “Macintosh HD.”) Then, click “Install.” It may take a while to install everything.
Step 4: Setting Up Mojave
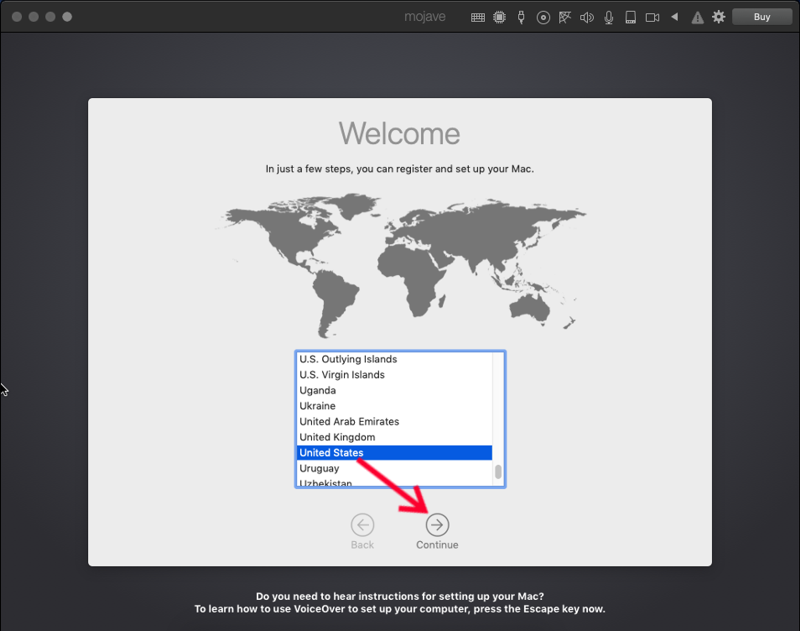
When macOS Mojave finally installs completely, it will ask you to pick your country.
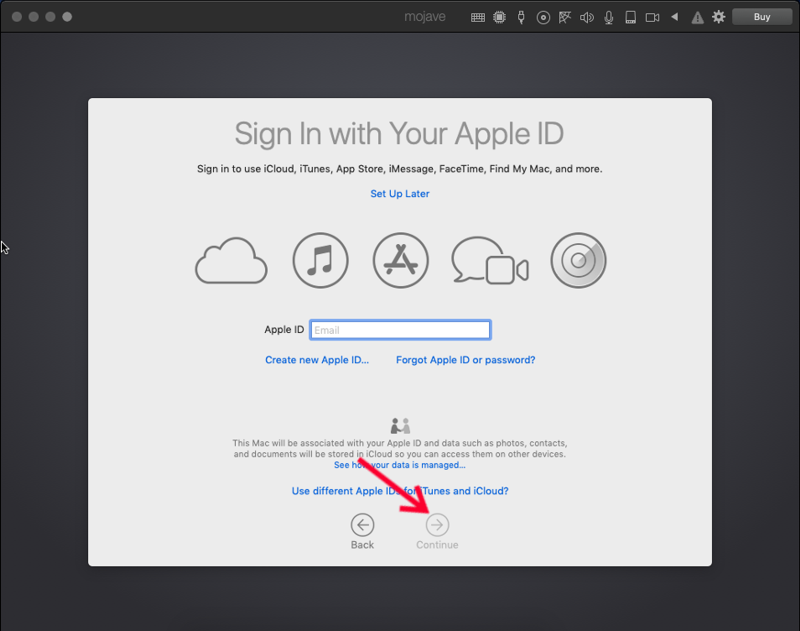
Next sign in with your Apple ID.
It will ask you to create a computer account. For simplicity, we named ours “Parallels,” but you can name it anything you like.

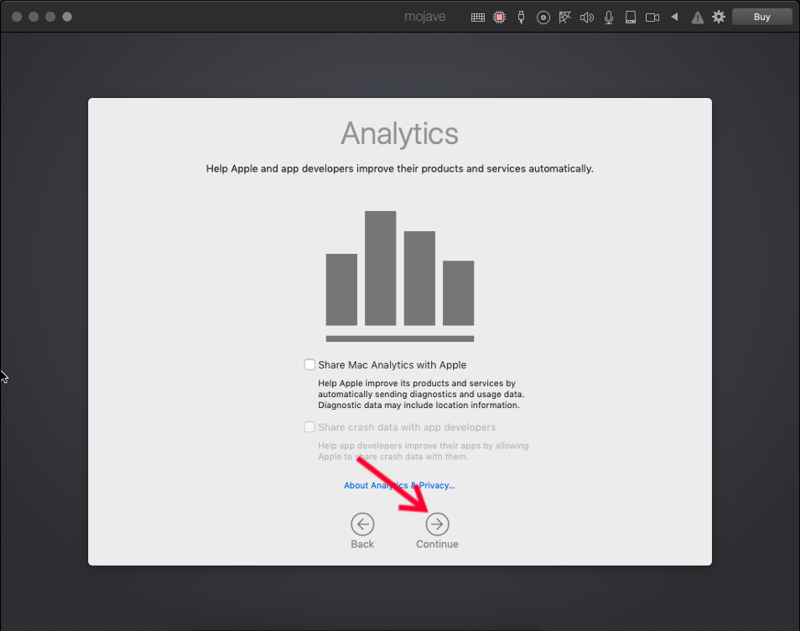
It will ask you about analytics. You can choose whatever you like and click “Continue.”
Congratulations! You now have an older version of OS running on your up-to-date computer, but we are not done yet with setting it up.
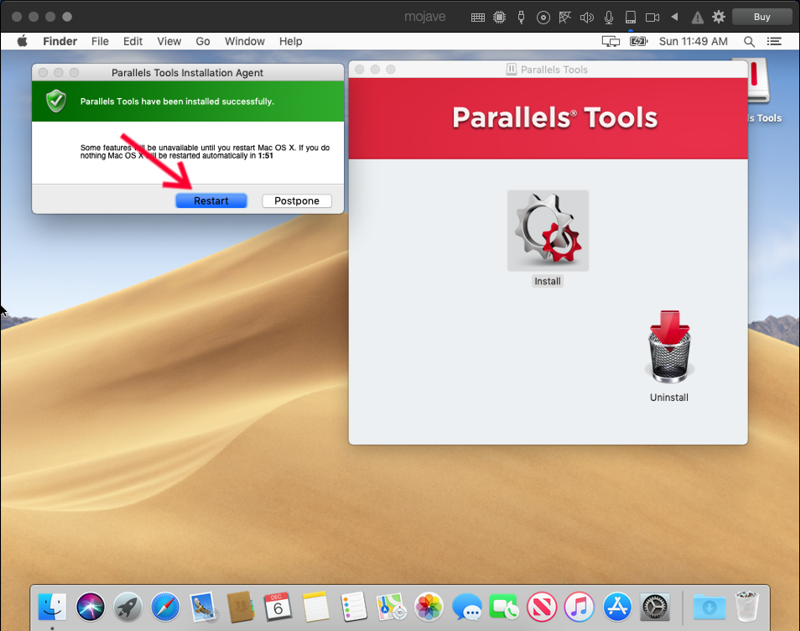
Install “Parallels Tools.”

Restart the computer when Parallels Tools asks you.
Next shut down the emulator, so that we can change some settings.
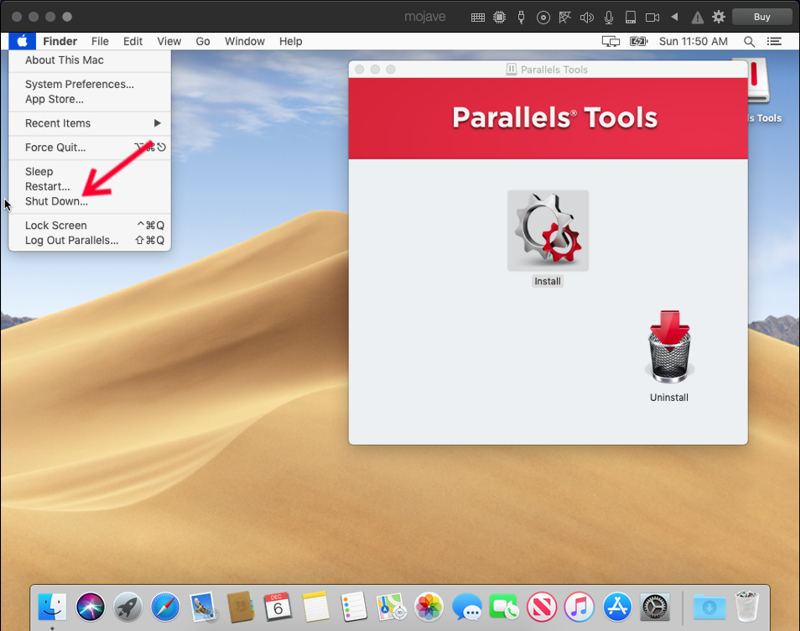
Open up mojave, but do not press the triangle button. When mojave appears as the application next to the Apple logo at the top left of the screen, mouse over “Actions,” and click “Settings.” You should see a menu like the one in the picture shown below. The only settings we want to change are in the “Hardware” section under “CPU & Memory.” We suggest that you give mojave half of the processors and memory in your computer to make things run more smoothly.

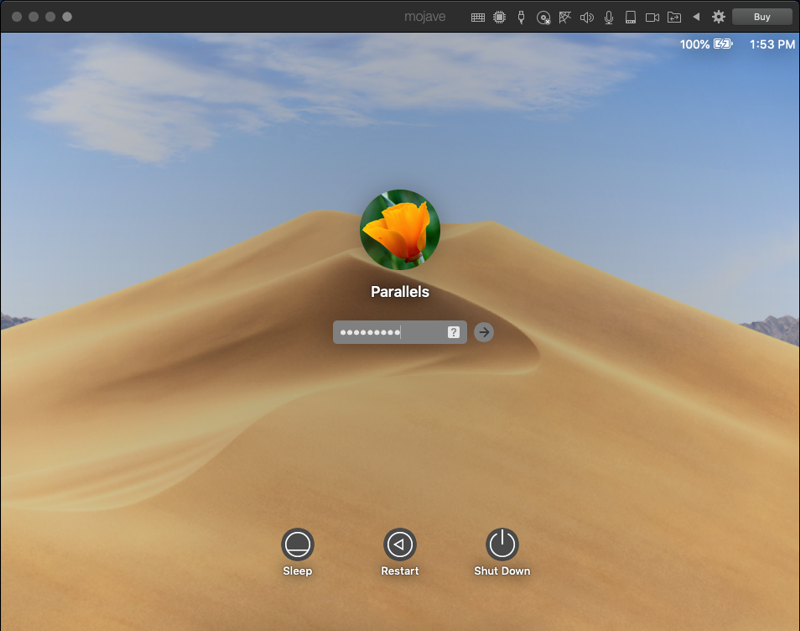
Open mojave again, and sign in.
Step 5: Installing EV3 Lab/EV3 G
Now it is finally time for the moment you have been waiting for: installing EV3 Lab!
The instructions are the same for Windows as they are Macs. You can use this link to directly go to where you can download the software, or you can follow the steps below.
First, go to education.lego.com. Scroll all the way to the bottom of the page, and click “Download Software” under “Resources.” Once you get there, scroll below the latest software for various LEGO products, and click “Retired Products.” Then, click the button that says “EV3 Lab Software.” Lastly, select the “Mac OS” version, hit the download button, and await your EV3 programming language.
We hope this article is helpful to you! If you are having trouble, look at the links referenced in the article. There are plenty of other helpful resources out there on the internet. Also, feel free to contact us. We know that we are personally glad to be able to still access our old programs, as well as still be able to use the EV3 Lab (EV3-G) software! Thank you for reading!

You must be logged in to post a comment.